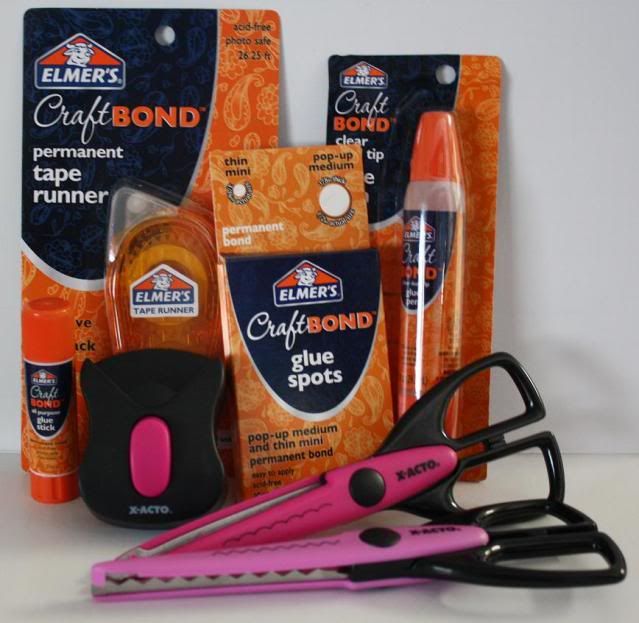
In the pack was a great, smooth as all get out, tape runner, 2 pair of edging scissors, a corner punch, a glue stick, some glue dots and a liquid adhesive (which earned its keep in my scrappy stash first off!!).
As with any freebies rec'd I like to showcase them, how I use them and then an HONEST opinion of what I think about them while using them. So, let's get started!!
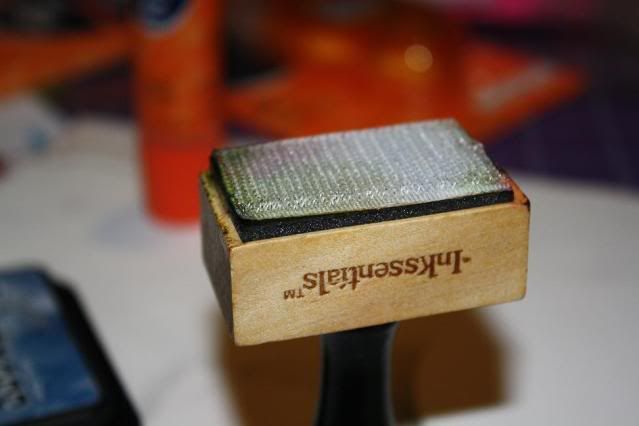
As I said the liquid adhesive earned its keep almost immediately!! I was trying to use my Tim Holtz Distressing ink with the applicator and as I pulled off one of the applicator ends I pulled off the piece that holds them on entirely!!! AAAAAAAGGGGGHHHHHHH!!!! What's a girl to do? Well, sitting there on the table staring at me was my Elmer's/Xacto package so I grabbed the liquid adhesive and used it to fix my applicator!!
Here's my broken ink applicator:
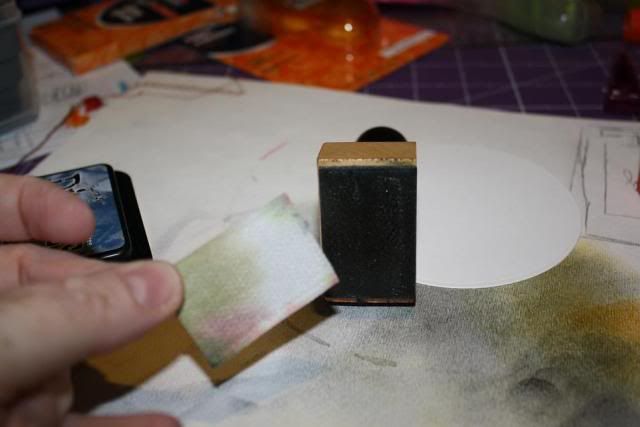
Applying the Elmer's Craft Bond:
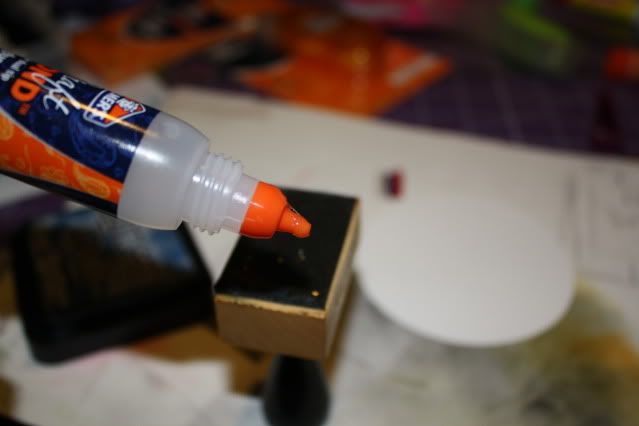
Elmer's Craft Bond:
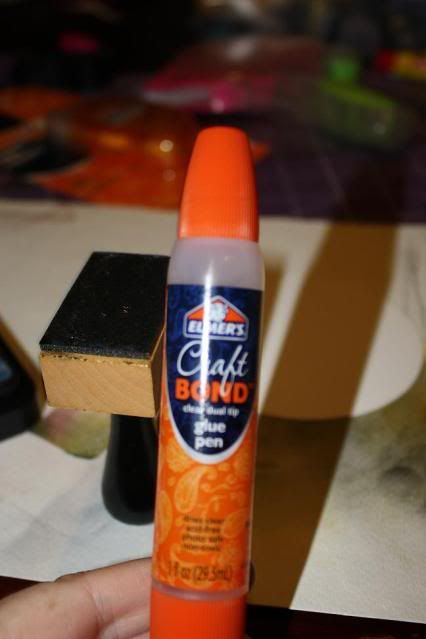
My fixed ink applicator - just had to give it a little dry time!!!
As for the rest of the adhesive, well, let's see what I was able to do!!!
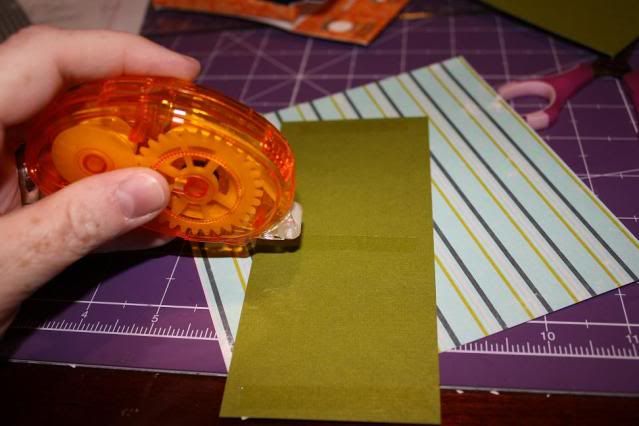
The super smooth tape runner was used quite a bit, here I was assembling the Nestie cut shapes:
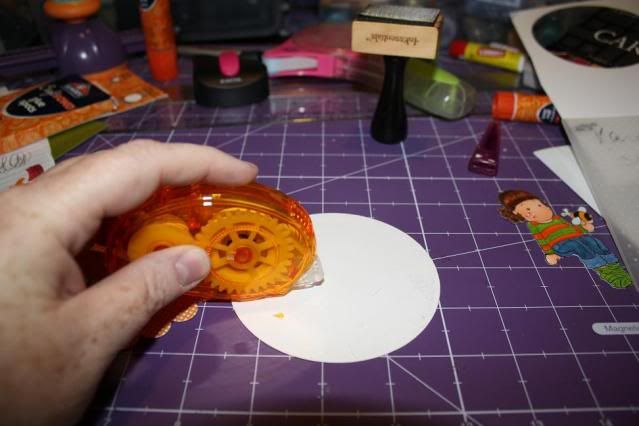
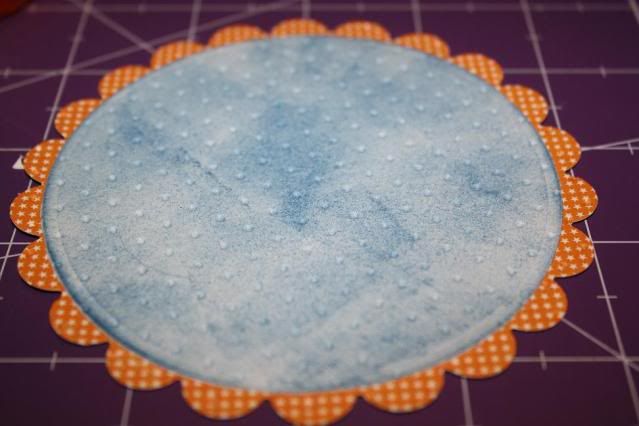
Worked like a charm!! I realized I had forgot to emboss the background that I inked (look at the picture above you can tell) and I was so not able to get the piece off without chancing to rip so it def holds!!! I ended up embossing after adhering:
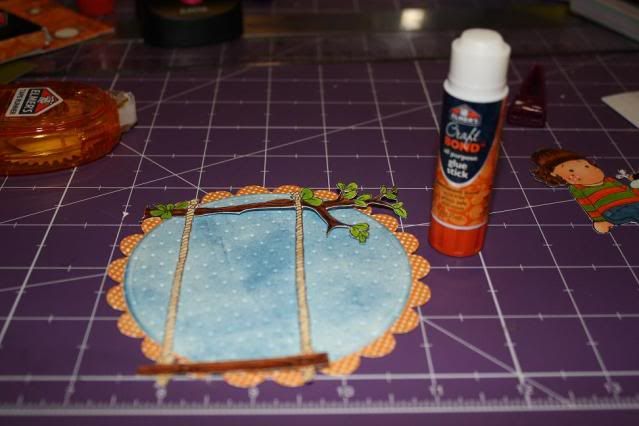
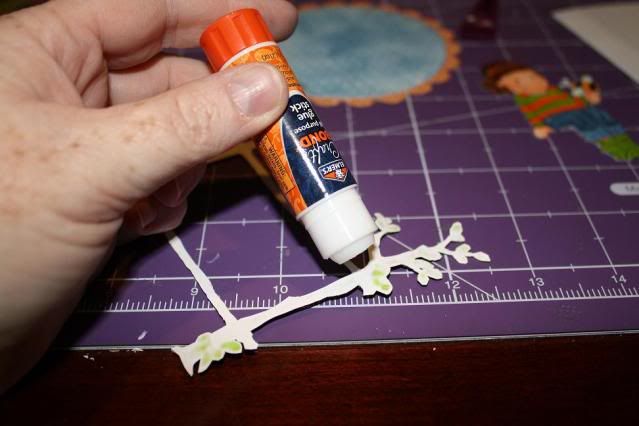
The next product used was the glue stick. I used glue sticks way back when I didn't know better. The last time I tried a glue stick I was ready to stick my fingers to my forehead so I didn't have to use a glue stick again!!! But...........this Elmer's glue stick was actually awesome!!! I was able to apply it so easily to the small areas of the swing and leaves and BAM (I'm thinking I'm Emeril....LOL)it was stuck to the background just as I needed it!!
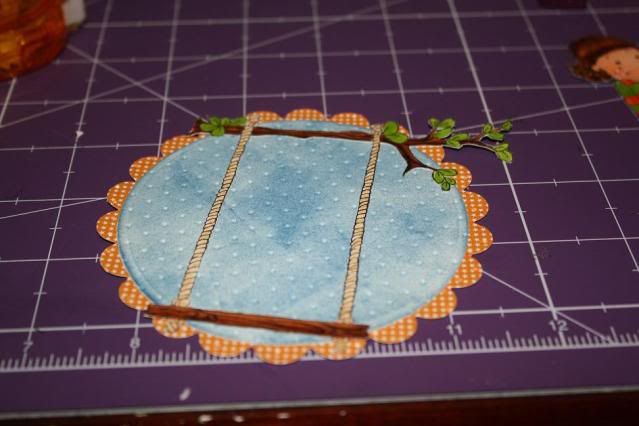
The last adhesive I played with are their new glue dots. So, I'm used to glue dots that are super thin and great for adhering but........then I have to add the foam adhesive squares if I want any height. With these, I get the best of BOTH worlds!!! I was able to use these little babies to adhere my girl to the swing but also give her a little height!
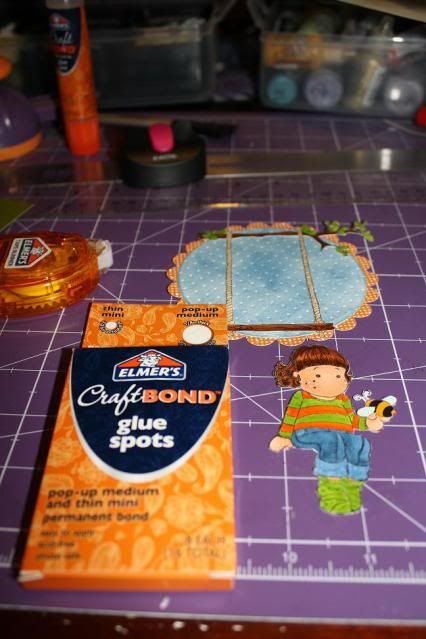
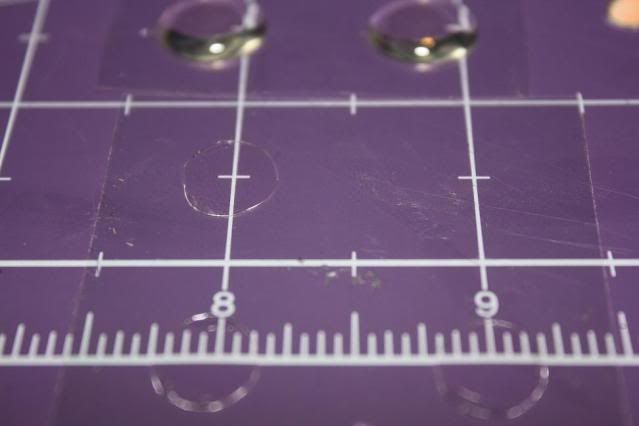
See how thick they are!!!
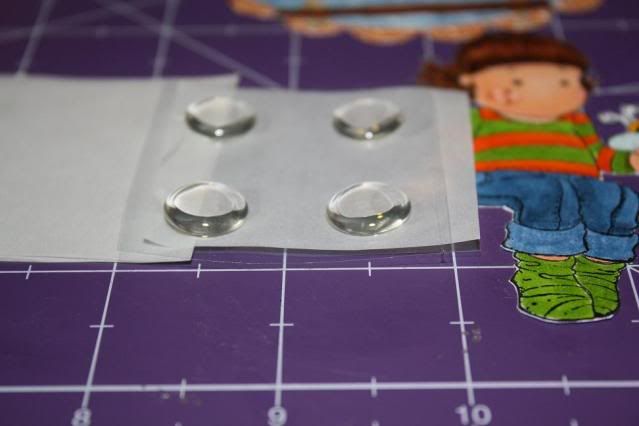
Check out their thin ones as well - they are almost invisible but you can kind of see them!! I do love them, like the tape runner and glue stick they really do stick!!!
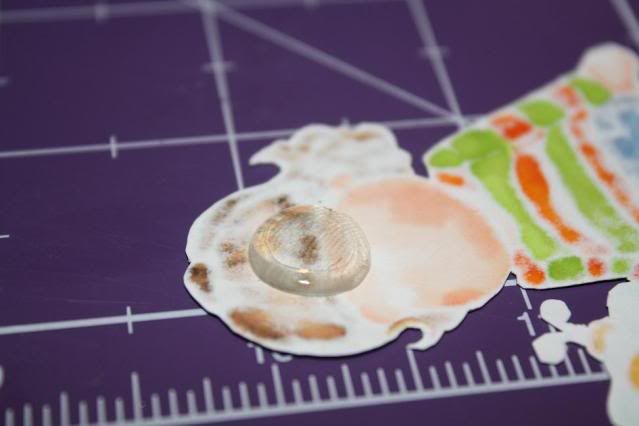
And here is one on the back of her head and on the swing so I can give her a little "pop" off the swing :)
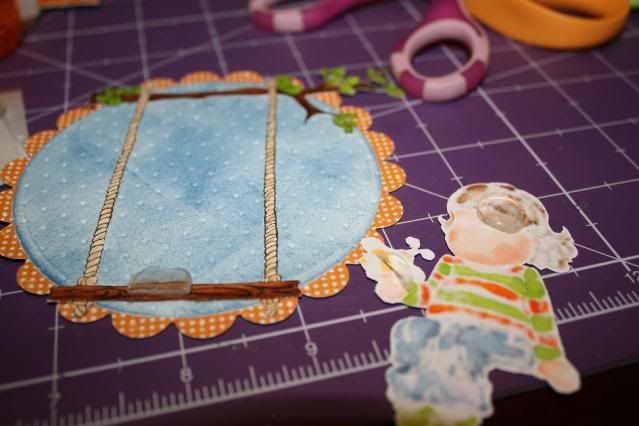
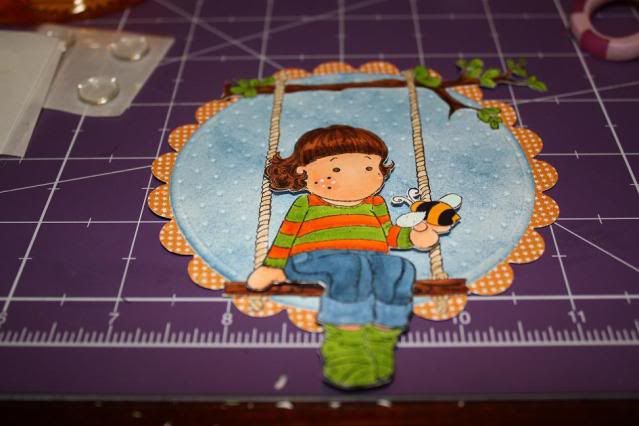
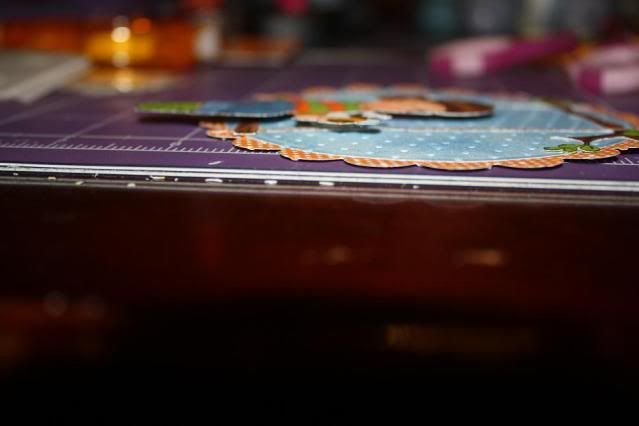
And then a side view so you can see she has that little "pop" going on!!
For the rest of the card I used the tape runner primarily and the glue stick inside for the flower (first time in a while I've done an inside......wooohooo):
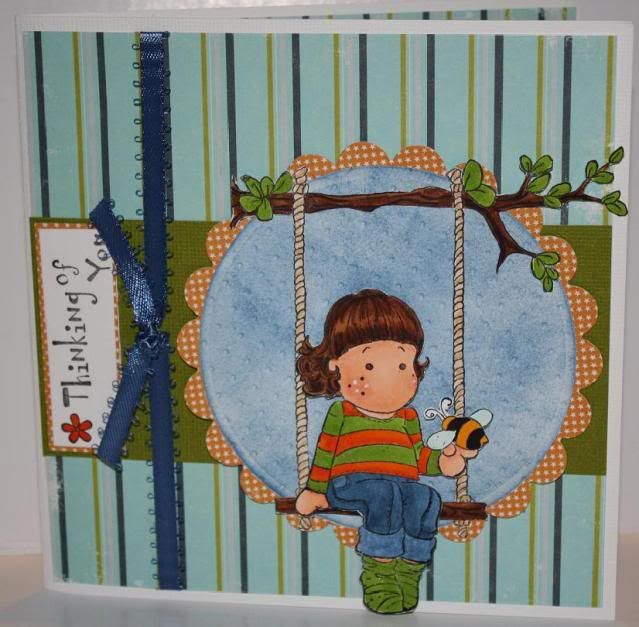
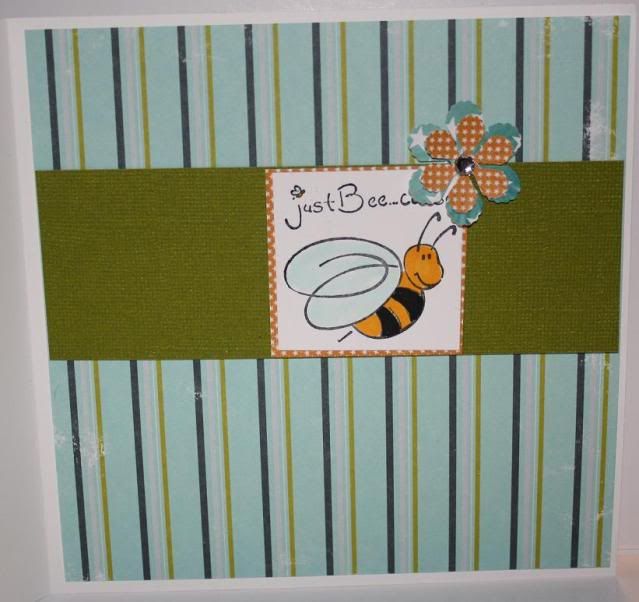
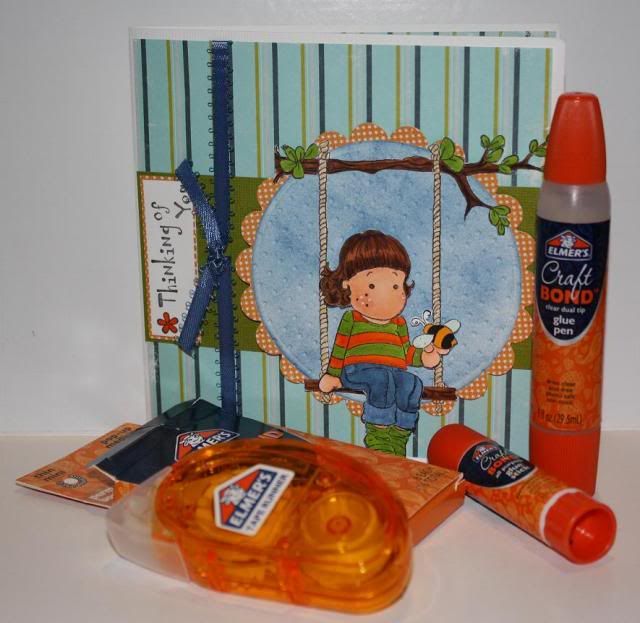
Here's the finished card w/all the adhesive products I used. I meant to use the cutting tools as well but I was so excited over the adhesives I totally pushed the cutting tools to the side!!! I do have my Xacto guillotine cutter that I've loved for years so I know the new tools will be just as loved (I did play with them just didn't use for the project)!!!
With all that said...............LOL................I created the card for the following challenges:
Charisma Cards - Anything Goes
Just Magnolia - A sketch by Dawny.
HHHMMMM...........I swore I had more challenges for this but I suppose not!! I will have to check my lists again but it is getting late so I am a little out of it...........I'm sure I missed one somewhere :)
As always, thanks for stoppin' by and happy scrappin'!!!


2 comments:
Such a lovely card and a great tutorial.Thanks for playing with Charisma.
xx Vee
Just popping onto say thanks for becoming a follower of our new challenge,Sparkle Dreams Challenge look forward to seeing you on the 1st October for our first challenge...
The Sparkle DT
Post a Comment